

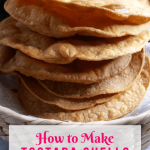
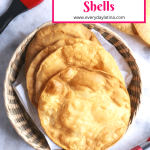
Learn How to Make Tostada Shells that are crispy, crunchy, and delicious. With just 2 ingredients, you can easily and conveniently make tostadas any time to enjoy with your favorite Mexican dishes.

In today's post I am showing you two easy ways to make your own homemade tostada shells.
I sometimes get the store-bought kind when I am in a rush for dinner. However, they just never taste as good as the homemade kind. Plus, recently I was surprised to see that one kind of already-made tostadas I bought had odd ingredients added in, including artificial flavors and coloring.
As you will see in my recipe below, there is absolutely no need to add anything extra to achieve golden-delicious tostada shells. Plus, tostadas are gluten-free and vegetarian, making them a great alternative to bread.
Use these tostada shells to make Refried Bean Tostadas, Avocado Tostadas or Ground Beef Tostadas.
Jump to:
What is a Tostada?
The word tostada literally means toasted in Spanish. When it comes to Mexican food, the term refers to flat, crispy corn tortillas that are topped with a variety of different foods.
To achieve the crispy, crunchy texture, the corn tortillas are typically fried but can also be baked. The process of making the tostada shells is easy but makes an amazing vehicle to layer on so many delicious Mexican dishes.
Ingredients & Substitutions

- Corn Tortillas: Use your favorite brand of corn tortillas. Just be sure the tortillas are not labeled "extra soft" as those tend to break easily and don't hold up in the frying process.
- Oil: Use an oil with a neutral or mild flavor and with a high-smoke point. I prefer avocado oil because it has a high smoke point and many health benefits. For the oven method, you can choose to use oil to brush your tortillas or use an oil spray.
See recipe card for quantities.
Fried vs Baked Tostada Shells
Either way of making tostadas is pretty easy, but here are some thoughts I have about each method:
- Flavor: Frying the tortillas really enhances the corn flavor and results in a superior taste than baked.
- Consistency: I prefer the consistency of fried over baked. Frying yields an especially crispy result and baked comes out a little harder.
- Clean-Up: Baking is definitely less messy as you don't have to worry about any oil splattering while frying.
- Healthier Option: Baked tostadas are the healthier option since this method requires less oil.
How to Fry Tostadas
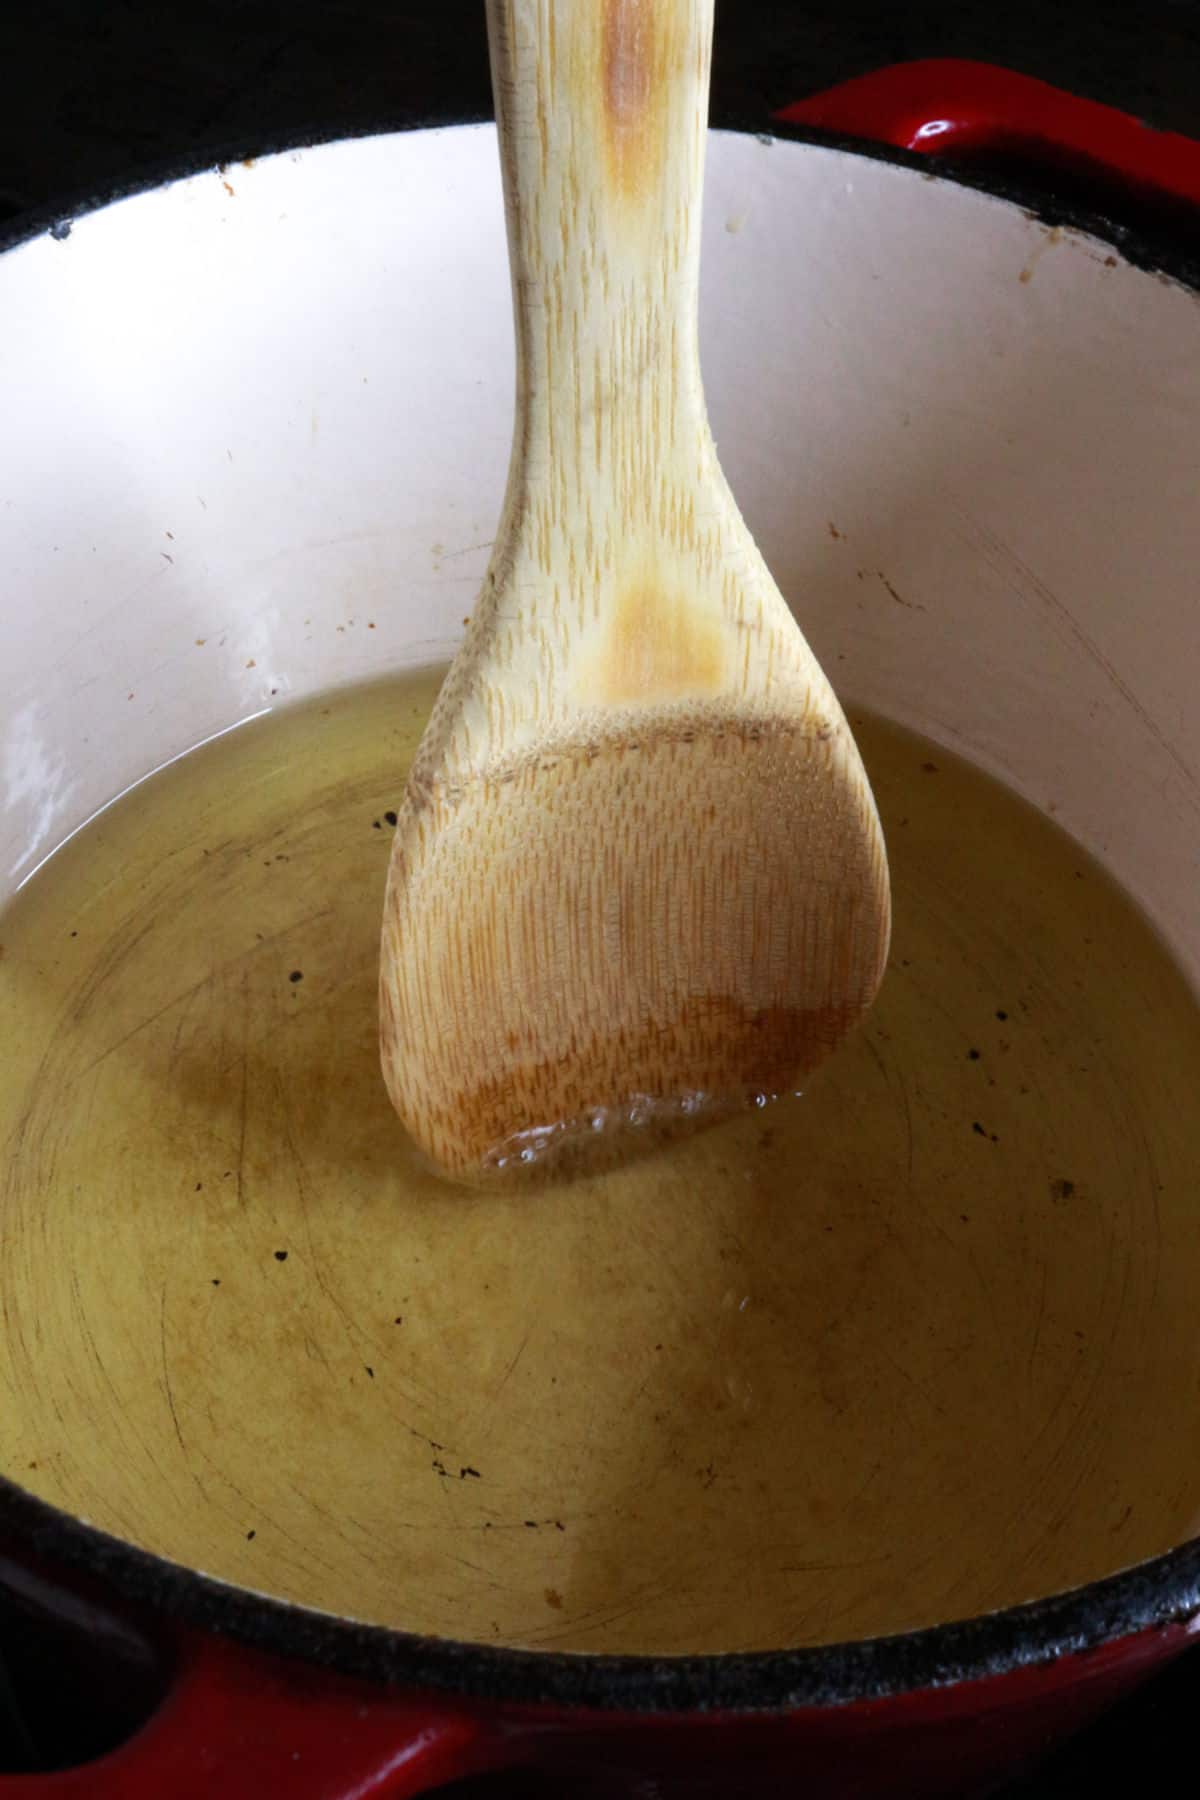
- Prepare the Oil: In a heavy skillet or small Dutch oven, heat oil over medium-high heat.
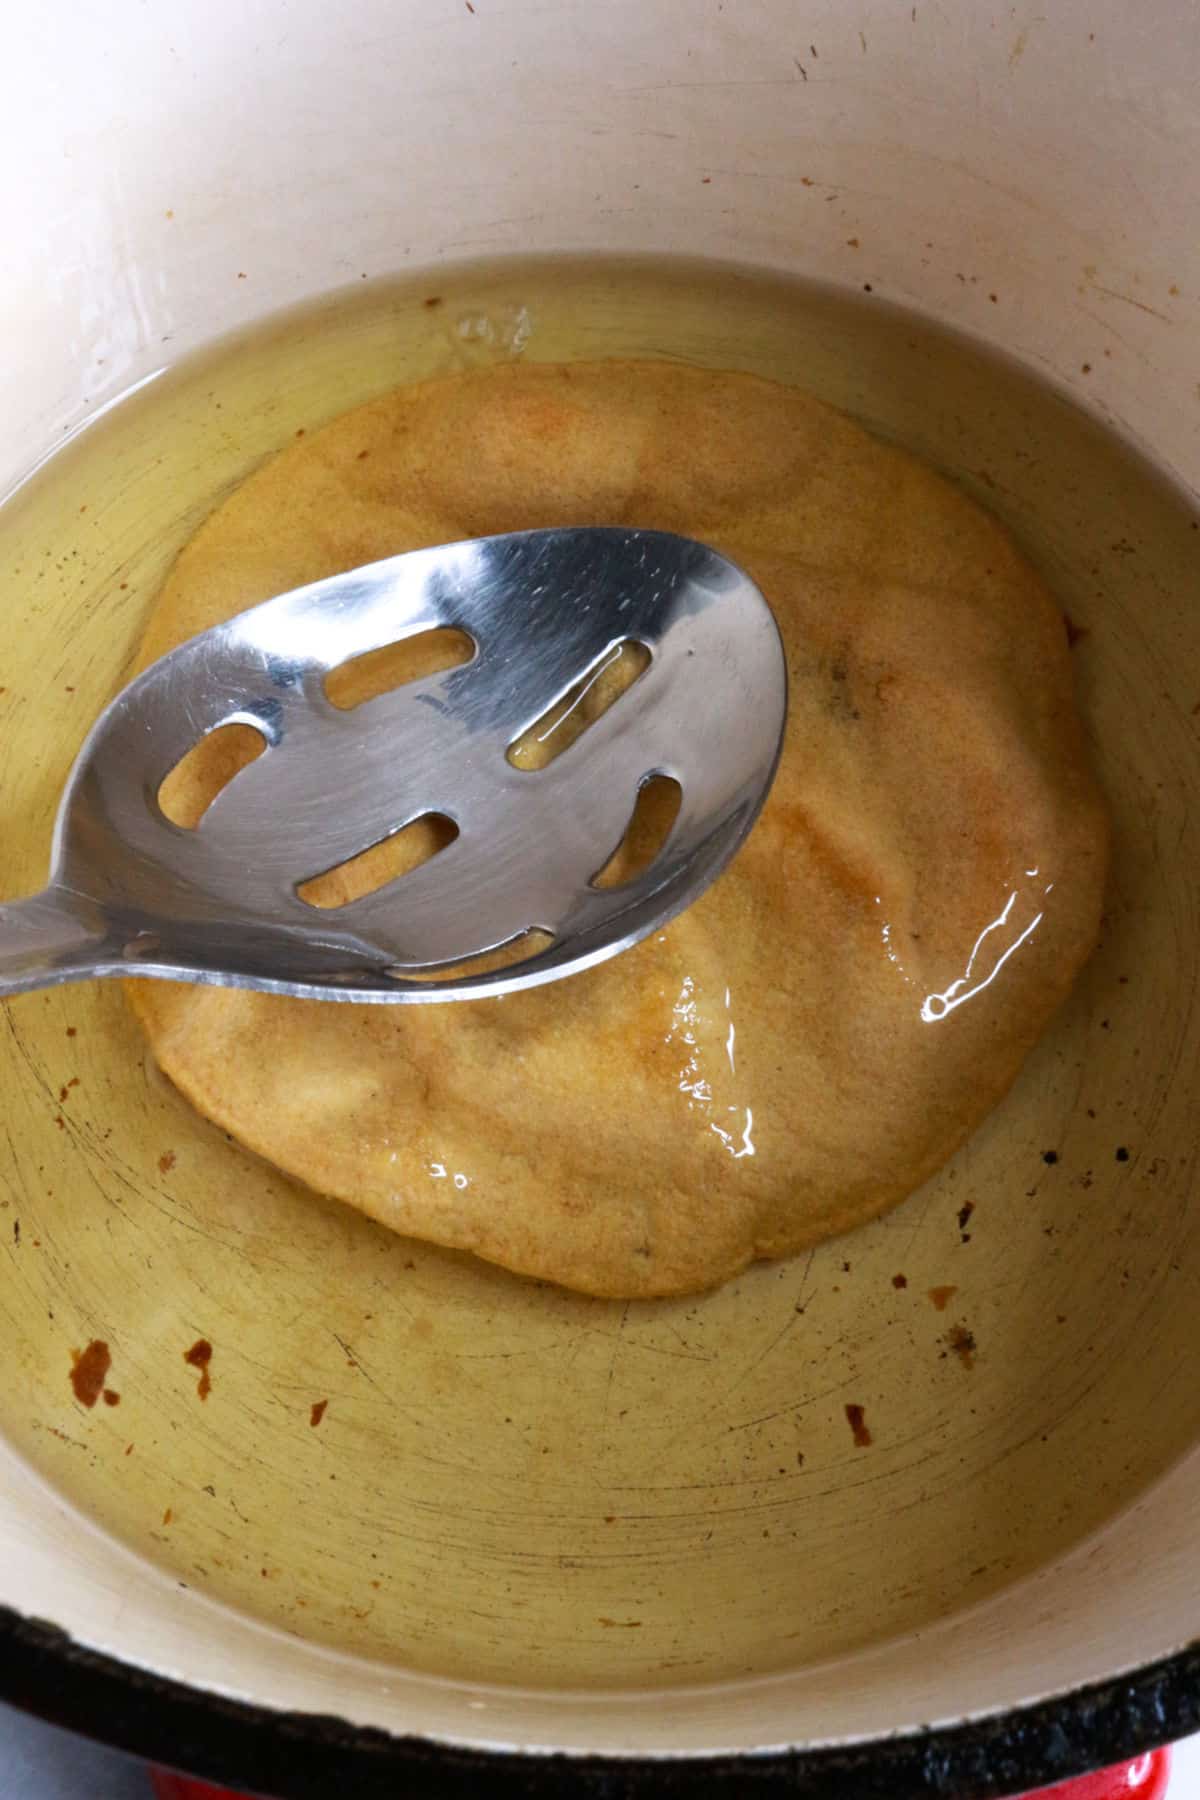
- Fry Tortillas: Warm up the tortillas in the microwave or on a skillet on the stove until soft and pliable. Add one tortilla at a time to the oil. Fry on each side for 40-60 seconds or until golden.

- Drain: Use tongs to remove the tostada from the oil. Place on a paper towel lined plate or bowl to drain.
How to Bake Tostadas

- Prepare to Bake: Preheat oven to 400°F. Place a wire rack on top of a large baking sheet.

- Oil Tortillas: Place 4-6 tortillas on the wire rack, as many as will fit without overlapping. Brush or spray each side of the tortillas with oil.

- Bake: Bake the tortillas for 15-20 minutes, until the tortillas change to a golden color and turn crispy. Work in batches until you have the amount of tostadas you need.
How to Serve
Once you have your crispy shells, here are some other great ways to top them:
- Ensalada de Pollo
- Salpicón
- Mexican Shrimp Ceviche
- Shrimp Aguachile with Mango
- Nopalitos and Roasted Red Pepper Salad
- Pico de Gallo
How to Store
Store tostadas on the counter in a ziplock bag or air-tight container for up to 5 days. Make sure the bag or container is sealed tight to keep your tostadas from getting hard and stale too quickly. Do not refrigerate or freeze as they will get soggy.
Tips from My Kitchen
- Watch your tostadas closely. With either method the tortillas can quickly go burn.
- No wire rack? Then simply lay the tortillas directly on the baking sheet. Then flip the tortillas halfway through the cooking time to ensure they crisp up on both sides.
- Top with a sprinkle of flaky salt when still hot for added flavor.

Recipe
How to Make Tostada Shells
Equipment
- Skillet or Small Dutch Oven
- Slotten Spoon
- Tongs
- Baking Sheet
- Wire Rack
Ingredients
- 12 Corn Tortillas
- ½ cup oil (or oil spray for oven method)
Instructions
Frying Method
- In a heavy skillet or small Dutch oven, heat one inch of oil over medium-high heat.
- Wait until your oil is hot, but not smoking. The oil should be about 350°F. Use an oil thermometer or I usually stick the end of a wooden spoon in the oil. If the oil begins to sizzle and bubble steadily around the wooden spoon then I know the oil is ready.
- Warm up the tortillas in the microwave or on a skillet on the stove until soft and pliable. This step is optional but it helps the tortillas from absorbing excess oil.
- Add one tortilla at a time to the oil. Use a metal spatula or slotted spoon to lightly press down on the tortilla to ensure it stays submerged in the oil.
- Fry on one side for 40-60 seconds until the tortilla is a light-golden color. Then flip and use the spatula or spoon to press down once again..
- Follow the same process with the rest of the tortillas.
- Use tongs to carefully remove the tostada from the oil. Allow some of the oil to drip back into the pan.
- Place the tostada on a paper towel lined plate or bowl to continue draining.
Oven Method
- Preheat oven to 400°F.
- Place a wire rack on top of a large baking sheet. See notes if you do not own a wire rack.
- Place 4-6 tortillas on the wire rack, as many as will fit without overlapping.
- Brush or spray each side of the tortillas with oil.
- Bake the tortillas for 15-20 minutes, until the tortillas change to a light golden color and turn crispy.
- Work in batches until all the tortillas have been baked.
Notes
- Watch your tostadas closely. With either method the tortillas can quickly go from crispy and golden to brown and burnt.
- If you do not have a wire rack for your baking sheet, you can lay the tortillas directly on the baking sheet. Then flip the tortillas halfway through the cooking time to ensure they crisp up on both sides.

Katy
So easy! Thank you for providing 2 methods.
Gemma
So glad you found it useful. Thank you!